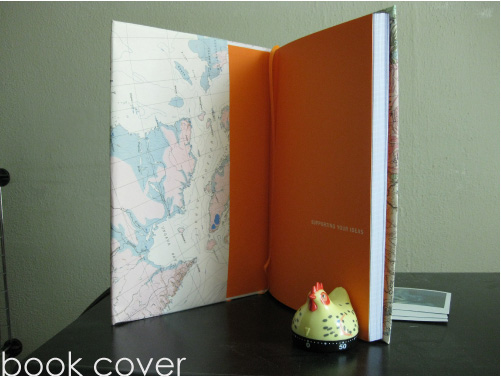
My third grade teach made all of us bring brown paper grocery bags to class and she taught us how to cover our textbooks. I thought all my fellow nerds might like to know how to do it. Although I still like the paper-bag look, I folded my new Whitelines sketchbook with a map from the geography department.
Step 01| Measure a piece of paper to for your book cover (and cut). For a good sized textbook, you’ll want about 5 inches extra on the top and bottom of the book, and about 7 inches around the sides when open. If you’re using a paper bag, cut off 1 side and the bottom and lay flat (if it’s a very large book, just snip the side open — and then cut off the bottom). If it’s a small book, you can make each the top and the bottom extra 1/3 the height of the book.

Step 02| With the back of the paper facing you (the side that you don’t want showing), fold down the excess paper on the top and the bottom to a little taller than the height of the book (between 1/8-1/4 inch taller). This extra room will come in handy later. You can see my creases on the picture above.

Step 03| Use the side excess paper (about 5-7 inches) and crease around just the back cover.

Step 04| Close the book, and flip it so that it goes snuggly around the spine.

Step 05| If necessary, cut off excess on the remaining side.

Step 06| Next, we’re going to crease this flap over the front cover. However, you want to crease it while the book so that the book can close so you have to “close” the book while creasing.
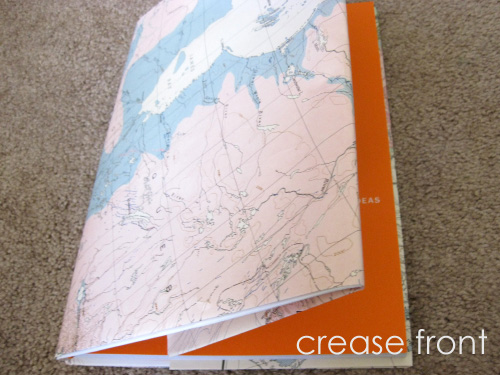
Step 07| Next, tuck the covers into the pockets you made previously when you folded the paper around the book cover.
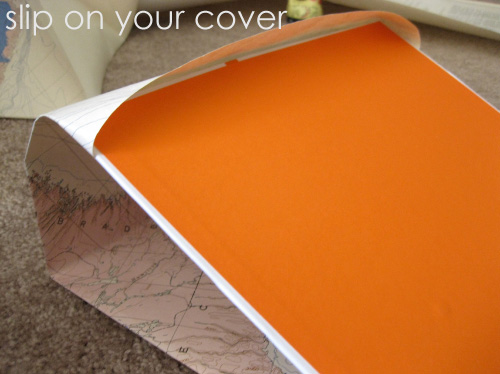
Repeat on the both sides. Here’s what it should look like on the side once the book is inside the pockets.
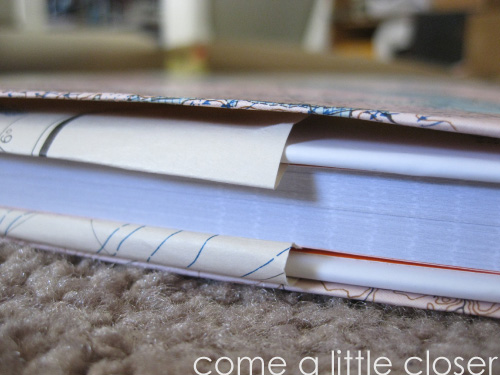
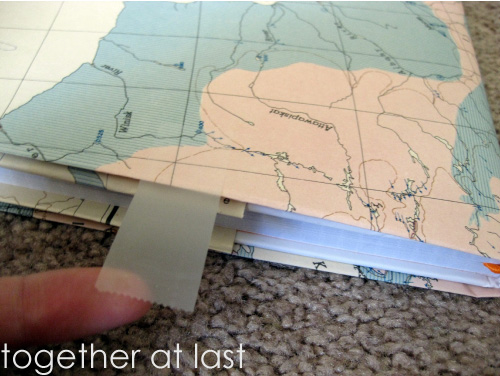
Step 08| Finally, tape in the sides so that the pockets stay close and so that the insides don’t poke out.
Enjoy!
